 |
|
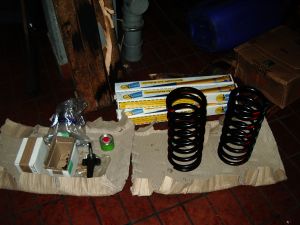
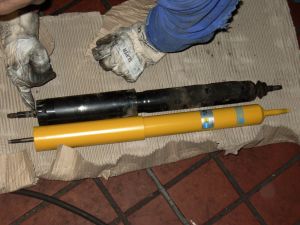
Most of the bits and pieces used. You can see the dampers in the back, the springs right and the screws and damper top mountings on the left. I used new mountings as the old ones had shot treads. |
| |
|
|
 |
|
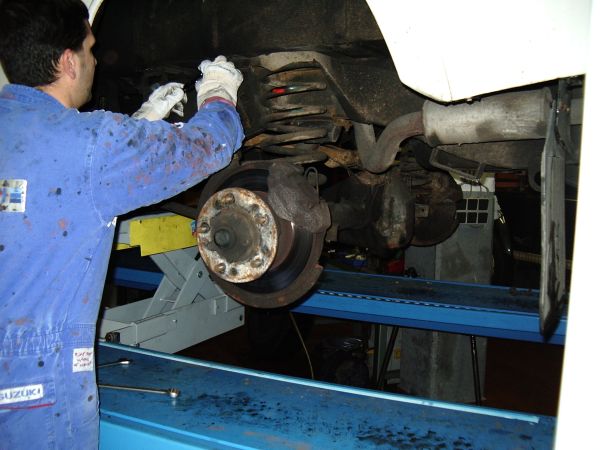
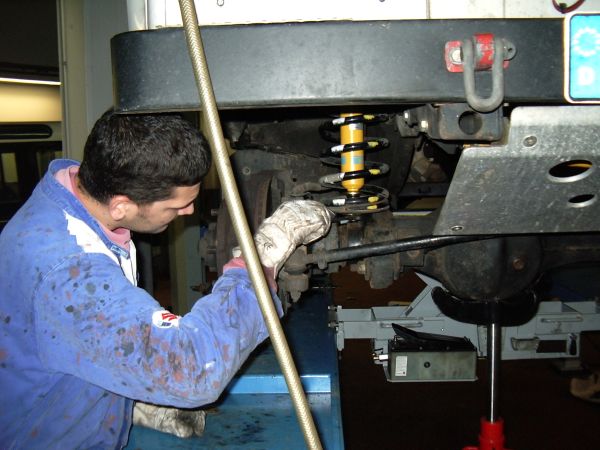
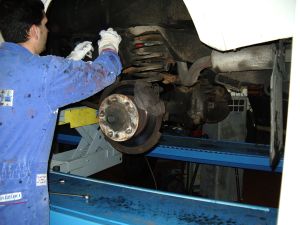
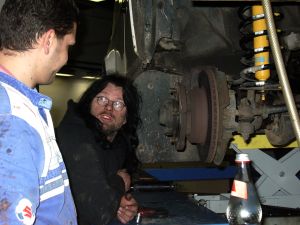
Lars is dismantling the top damper mount with rear wheel removed. The mounts were pretty rusty and the tread showed signs of deterioration so they were replaced. It pays to soak all nuts and bolts with WD40 for several days in advance. |
| |
|
|
 |
|
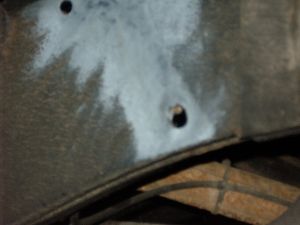
The damper mount removed. We smeared anti-rust grease on the chassi for future protection. |
| |
|
|
 |
|
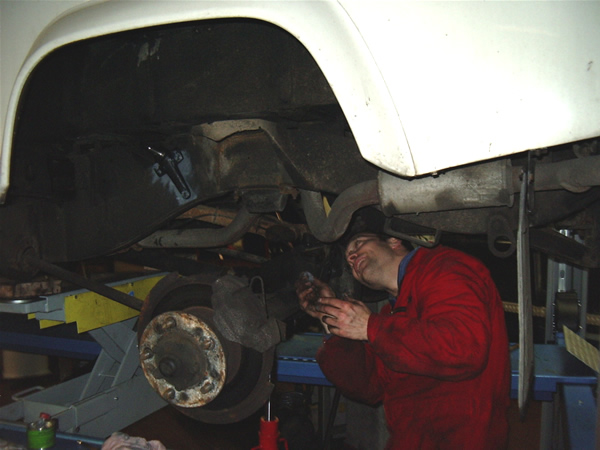
A fairly dark picture. Damper and spring left side are removed, I am fitting the new mount. |
| |
|
|
 |
|
New mount in place. Make sure there is no grease of any sort on the tread. As self-locking nuts are used they must be fitted dry. |
| |
|
|
 |
|
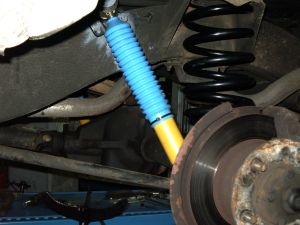
Damper fitted. Again, grease only from the outside after fitting. |
| |
|
|
 |
|
Damper and spring fitted. The springs are colour coded. Red-red goes on the driver side (left), red-green on the passenger (right) side. |
| |
|
|
 |
|
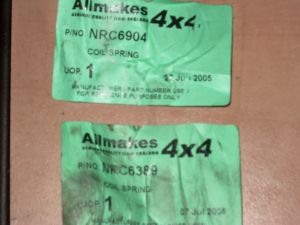
The springs are OME (original manufacturer equipment). The Rover numbers are NRC 6904 and NRC 6389. They are heavy duty 110 items. |
| |
|
|
 |
|
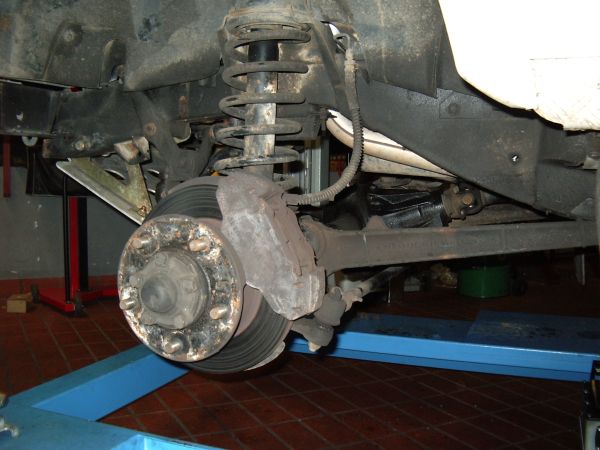
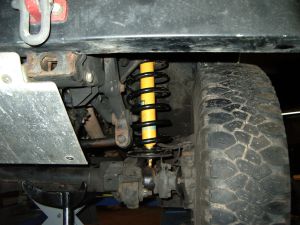
The front driver's side spring. Removal of the front springs is more difficult as the damper sits in the spring. I had previously fitted HD springs from a 90. As a result the front sits level with the rear of the vehicle. |
| |
|
|
 |
|
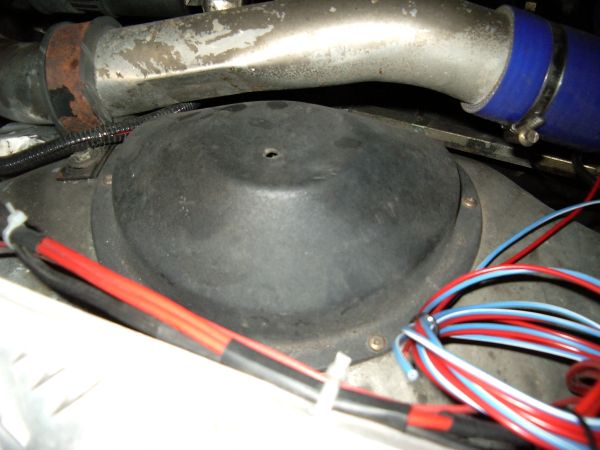
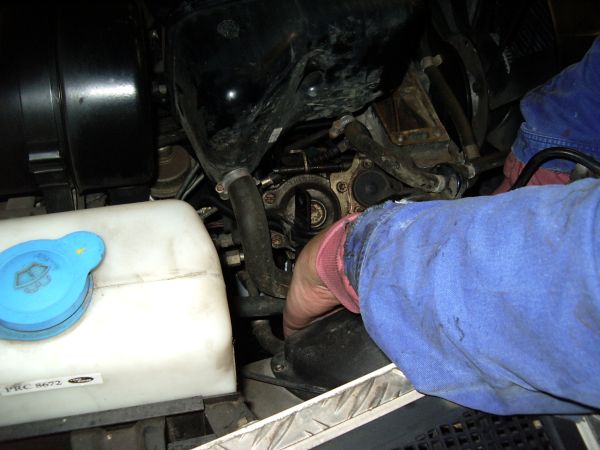
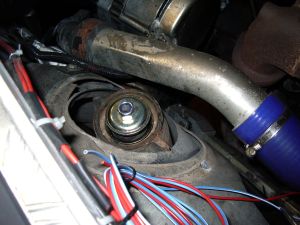
The protective cover for the front damper top mount needs to be removed on both sides. Passenger side needs the coolant reservoir removed. Hoses can be left in place though. |
| |
|
|
 |
|
Old vs new damper. No real difference as the yellow Bilstein simply has a larger protective tube to cover the top of the damper. |
| |
|
|
 |
|
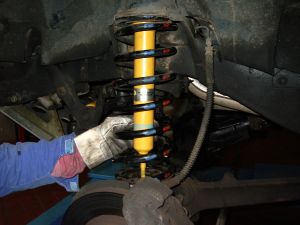
Spring/damper assy fitted. It's a bit fiddly and you need two persons, one to stand on the axle to lower it, the other to fit spring with damper inside. |
| |
|
|
 |
|
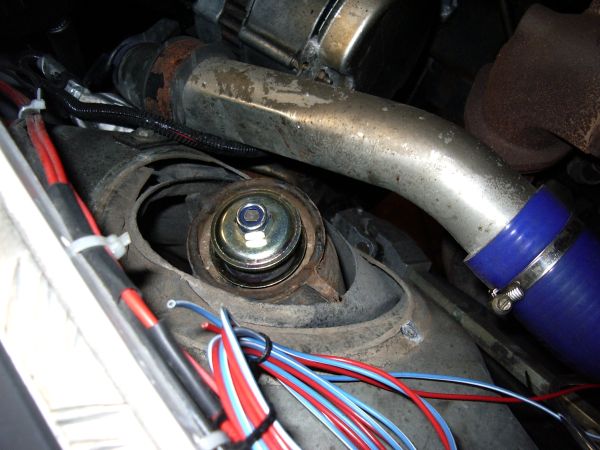
The damper top is secured. We used an air wrench. It's much easier this way as the momentum helps against the damper itself moving. As damper is moving you can't really overtighten this nut. |
| |
|
|
 |
|
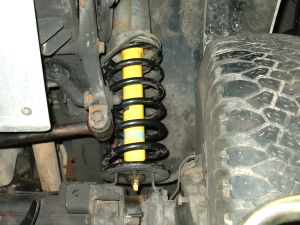
The front driver's side spring. And damper assembled. |
| |
|
|
 |
|
And again, in close-up. |
| |
|
|
 |
|
Lars secures the damper bottom nut. This is a bit fiddly again. |
| |
|
|
 |
|
The coolant reservoir is being refitted next to the wiper/washer bottle. |
| |
|
|
 |
|
Some hours and one happy Lars later. |
| |
|
|
 |
|
Final examination by master mechanic Frank. He seems to be happy with the result, too. |
| |
|
|
After everything was fitted and double checked, I took a test drive. The suspension is definitely tigther. This became especially obvious in bends, where much less body roll is noticed. A nice addition to the better handling characteristics is the fact that my Landy now sits level!
Even though the old springs and dampers still had some life in them I must say that this was one of the best conversions I have so far done to the vehicle. It's a totally new driving experience which brings a smile on my face on every ride. |